Armor Set
 面
面
 Kote
Kote
 胴
胴
 垂
垂
 Dogi
Dogi
 袴
袴
 bamboo sword
 wooden sword
 armor bag
 Bamboo sword bag
 Small items
 gift
gift
 Books/DVDs
 cleaning
 Armor repair
 Kendo mask
 Iaido
Iaido
 Japanese swords and art swords
 Mitsuboshi
 Tozando
 Matsukan
 Japan Kendo Equipment Factory
 West Japan Martial Arts Equipment
 Glory Martial Arts Equipment
 Nobutake
 Busougi
 Flag Ito


 Value Set
 Armor Set
 面
面
 Kote
Kote
 胴
胴
 垂
垂
 Dogi
Dogi
 袴
袴
 bamboo sword
 wooden sword
 armor bag
 Bamboo sword bag
 Small items
 gift
gift
 Books/DVDs
 cleaning
 Armor repair
 Kendo mask
 Outlet
 Iaido
Iaido
 Japanese swords and art swords
 Mitsuboshi
 Tozando
 Matsukan
 Japan Kendo Equipment Factory
 West Japan Martial Arts Equipment
 Glory Martial Arts Equipment
 Nobutake
 Taiyo Industry
 Busougi
 Flag Ito
 Interviews Useful Articles
 Size Measurement Guide
 User Guide
 GLOBAL SHIPPING GUIDANCE
 Frequently Asked Questions Q&A

This is the ninth installment in a series of articles explaining the basic knowledge of kendo that beginners should know before starting kendo.
The commentary will be given by MAYU and RYOKO from Osuga Budo Goods Store.
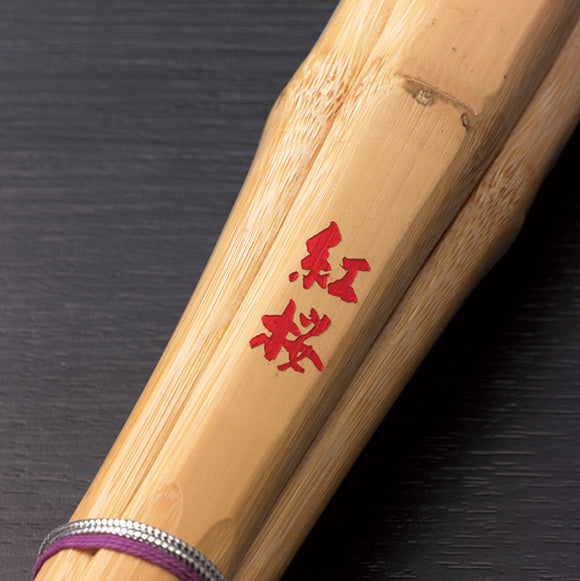
This is the ninth time, and we will be looking at how to assemble a bamboo sword.
How to Assemble a Shinai

MAYU & RYOKO "Hello everyone"
MAYU: "This is MAYU from Osuka, a kendo equipment specialty store."
RYOKO: "This is RYOKO. This video is for all kendo beginners. Please take a look."
MAYU & RYOKO: "Please"
What to prepare
RYOKO: "Now we'll start assembling the shinai. First, we need to prepare the shinai, the leather handle, the string, the leather tip, the knot, the decoration, and the rubber tip. Also, it's a good idea to bring scissors, an awl, and pliers to make things easier."

How to thread the string through the leather tip
RYOKO: "Now let's set it up. Thread the string through the tip of the leather. I want it to extend out about this much from the left side."

RYOKO: "Make a circle with the longer string and pass it through from the bottom."  long
long
RYOKO: "Pass it behind the longer string and put it in between these two strings and pull it."


Threading the knot and ornament onto the string
RYOKO: Next, put the knot through the string.


RYOKO: Next, fold the ornament in half and thread it through in the same way.


Attach the leather tip and rubber tip to the tip of the shinai
RYOKO: Next, insert the rubber tip into the tip of the bamboo sword.

RYOKO: "Then we put on the leather tip."


Fix the decoration
RYOKO: "Then, secure the ornament. Make a loop at the back, put a string through it, and tie it here."


RYOKO: Next, thread the string through the leather strap and the gap in the ornament, then pull it.


Fixing the handle and string
RYOKO: Then, pass the string through the knot in the handle leather, pull it, and wrap it around this part.


RYOKO: After wrapping it around here about 10 times, insert the string into this gap and pull it.


RYOKO: And finally, we tie the middle knot. We tie it at about a quarter of the length of the shinai.


RYOKO: "After wrapping it once, twice, and three times, pass it through here, and then through here."


RYOKO: "I'll do the same thing underneath and then over here."


RYOKO: "Pass it through here, then pass it through one last time and pull it."


Eliminate excess parts
RYOKO: Finally, use scissors to cut off any excess hair.


RYOKO: "Now it's complete. This concludes my explanation of how the shinai works."

This time, we were given an explanation on how to assemble a bamboo sword.
Click here for the explanatory video → [How to Assemble a Shinai] OSUGirls Kendo Lesson - Osuka Part 9
Once you've learned how to assemble your own bamboo sword, you'll feel like you've become a full-fledged professional.
It would be very convenient if you could fix things yourself when the strings get loose or the knot gets twisted.
There are other explanatory articles and videos available, so please take a look at them.
Related articles
BUSHIZO TV Osuga Budo Equipment Store OSUGirls Kendo Equipment Lecture Series (9 Episodes)